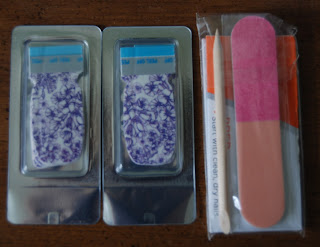
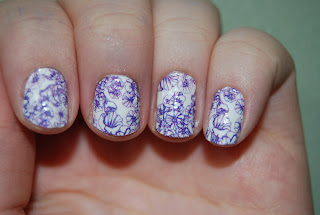
The strips are very easy to use. You take the plastic cover off, take the strip off the paper, and apply it to the nail. When you put the design on the nail, pull it out and down so that you are left with a clean edge. If you do it like this, it wraps the design under the nail a little and makes it harder to chip. It only takes about ten minutes to prep and do your nails.
The designs always look nice and clean. There are extras provided, so you can afford to make a mistake. The strip comes off just like regular nail polish, just use nail polish remover. It isn't any harder to take it off either. And they do last the 10 days that is promised on the box - even without a base coat.
The design here is 607 Good Morning Glory.
Tips:
- You can buy these at any store that carries nail polish, but if you look in the clearance bin at Target, CVS, Rite Aid, or at TJ Maxx, you can almost ALWAYS buy a set for $2-3.
- Leave your thumbs for last! It makes things so much easier!
- Do NOT put a topcoat over the design. It will blur the design. If you want it to stay longer, use a base coat.
- If a strip is a little smaller than your nail, go up a size. It is a lot easier to trim the sides down than stretch the strip and ruin the design.
- Keep your extras and put them in an air tight bag. You can use them later (See photo.)


No comments:
Post a Comment